Quick summary
Choose FPV power lead wire gauge by the current the lead must carry, the length of the run and the connector and soldering limits at each end. In practice, most small school and drone soccer builds use short, well-supported leads sized so the wire stays comfortably below its insulation temperature rating. Start with the current, check the voltage drop over the actual length, confirm the connector and solder joint can take the wire, then choose the smallest gauge that satisfies all four.
Key Takeaways
- Wire gauge (AWG, American Wire Gauge) is a starting point, not a full specification. Current rating depends on insulation, bundling, airflow and length.
- Short leads hide resistance problems. Longer leads need thicker wire or a higher-voltage system to keep voltage drop low.
- The connector and solder joint are often the weakest thermal point in a young student’s build. Match wire to connector, not the other way round.
- For teaching builds, slightly over-specifying the wire is usually safer and easier to solder than pushing the minimum.
- Ask any supplier for the exact wire specification, connector rating and soldering guidance in writing before bulk ordering for a school program.
What does wire gauge actually mean for an FPV power lead?
A direct answer: wire gauge describes the cross-sectional area of the conductor. Lower AWG numbers mean thicker wire and lower resistance per metre. In FPV (first-person view) aircraft, the power lead runs from the battery connector to the power distribution board, flight controller or ESC (electronic speed controller) input.
Three quantities matter together: the current in amperes, the resistance of the wire over its length, and the heat the insulation can tolerate. A wire that is fine for a three-second burst may overheat in a sustained hover. That is why manufacturers publish current tables with conditions attached, and why those tables should be read as guidance, not law.
Why voltage drop matters more than the headline amp rating
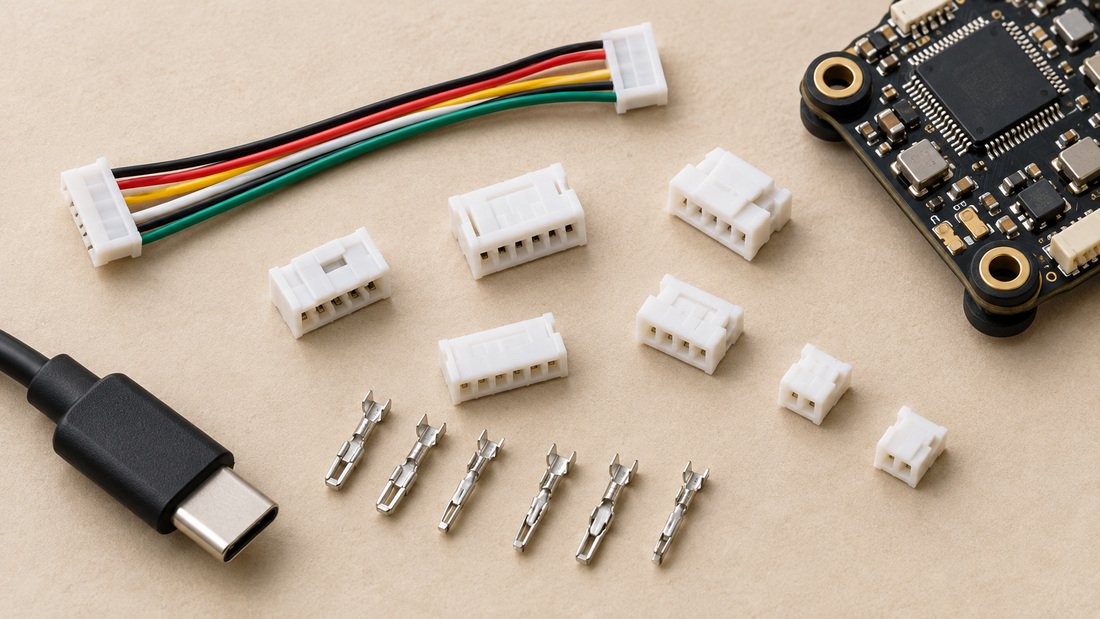
Voltage drop is current multiplied by resistance. Over a short lead it is small. Over a long lead it becomes visible as sag under load, hotter wire and less headroom for the flight controller and video system. If your build uses a long power run to a wing or a large multirotor, treat length as a first-class design variable rather than an afterthought.
How do I size wire for a school or drone soccer build?
Work from the highest current the lead will see, add margin for student builds, then check the physical fit. The table below is a general orientation aid for typical small-to-mid FPV power leads. It is not a product specification and should not replace the wire manufacturer’s datasheet or your own temperature and voltage-drop checks.
| Typical build / use | Common AWG range to investigate | Connector pairing to confirm | Practical notes for schools |
|---|---|---|---|
| Micro and tiny-whoop, very short runs | Thin gauge, short length | Small battery connector | Easy to damage; strain relief matters more than amp margin |
| Small drone soccer or trainer quad | Medium gauge, short lead | Match connector to battery | Keep leads short; teach polarity before first power-up |
| 5-inch freestyle or race quad | Thicker gauge, short lead | Common high-current connector | Soldering heat can lift pads; practise on scrap boards |
| Long-range or wing with extended power run | Thicker gauge or higher system voltage | Connector rated for continuous current | Re-check voltage drop over the full length |
Two students can build the same airframe and arrive at different wire choices if their battery, connector and flight style differ. That is normal. What should not differ is the process: measure, calculate, check, then solder.
How do I calculate current and voltage drop without guesswork?
Start with the ESC and motor combination’s expected current, not the battery’s burst label. Then apply a margin. A common teaching approach is to design for continuous current with headroom, and to treat short bursts as a separate case.
- Estimate maximum continuous current from the propulsion setup you actually intend to fly.
- Find the resistance per metre for the candidate wire from the wire supplier’s data.
- Multiply by the round-trip length of the lead to get total resistance.
- Multiply by current to estimate voltage drop; compare it with the sag you consider acceptable.
- Check the result against the insulation temperature rating, not just the amp table.
For classroom use, this calculation is a useful exercise in itself. It teaches that wiring is a system decision, linked to electronic speed controllers, battery choice and flight style.

Connectors and solder joints: the real constraint in student builds
The power lead is only as good as its terminations. A thick wire squeezed into an undersized connector, or a joint made with too little heat, adds resistance exactly where it is hardest to see. For schools, the termination is usually the failure point worth designing around.
Betaflight’s documentation describes the flight controller as the computer that reads sensors and sends commands to the ESC to control the motors, and notes that it supports a wide variety of ESC protocols, with DShot being the main one used on nearly everything. That architecture means the power path is shared: battery, lead, connector, distribution, ESC. See the Betaflight getting-started documentation for the general system context, and remember that hardware support comes from each board’s manufacturer.
Matching wire to connector
Every connector family has a rated current and a recommended wire size. If the wire is too thick for the connector barrel or crimp, students may cut strands to make it fit, which silently reduces capacity. Ask the connector supplier for the recommended wire range and confirm it matches the wire you plan to buy.
Soldering and build skills that prevent rework
Good FPV electronics practice starts with tinning, heat control and strain relief. Practise on scrap boards before touching a flight controller. Keep the iron hot enough to flow the joint quickly, avoid prolonged heat on pads, and insulate exposed joints. Solder joints should be shiny and smooth, not dull or blobby.
Comparison: what changes when you go one gauge thicker or thinner?
| Factor | Thinner wire | Thicker wire |
|---|---|---|
| Resistance and voltage drop | Higher; worse on long runs | Lower; better headroom |
| Weight and flexibility | Lighter, easier to route | Heavier, stiffer, harder to bend |
| Heat under load | Rises sooner; insulation stressed | Rises less for the same current |
| Soldering difficulty for students | Easier to heat, but fragile | Needs more heat and better technique |
| Connector fit | Usually easier to insert | May exceed connector wire range |
There is no universally correct compromise. A small indoor drone soccer quad values weight and flexibility; a larger outdoor build values thermal margin. Explain the trade-off to students rather than issuing one rule.
Common mistakes in FPV power lead selection
- Choosing wire by appearance or by what a clubmate uses, without checking current and length.
- Using a long, thin lead and blaming the battery for sag.
- Cutting strands to fit a connector instead of choosing a compatible pair.
- Ignoring insulation temperature rating when the wire is bundled or enclosed.
- Skipping polarity checks; reversed power leads can destroy flight controllers in seconds.
- Using an iron that is too cool, producing cold joints that look connected but are not.
A classroom routine of “measure, document, have a second student check” catches most of these before power-up.
Procurement checklist for schools and program buyers
- Define the aircraft classes and battery voltages your program will actually fly.
- List the connector families already in use across your fleet, so spares stay compatible.
- Ask for the wire specification: conductor material, gauge, insulation type and temperature rating.
- Request the recommended soldering and assembly guidance for each lead and connector.
- Confirm connector current ratings in writing for the currents your builds will draw.
- Decide whether leads are pre-made or assembled by students, and budget for practice materials.
- Confirm packing, labelling and traceability requirements for your procurement process.
- Ask for sample units to trial in a supervised build before committing to a program order.
For accessories, flight controllers and ESC options that fit a teaching program, review the relevant product lines and confirm all commercial terms in writing. For example, if you need coordinated FPV video receivers or FPV DVR units alongside power hardware, ask how they are supplied together.
Where to get help choosing power leads for a school program
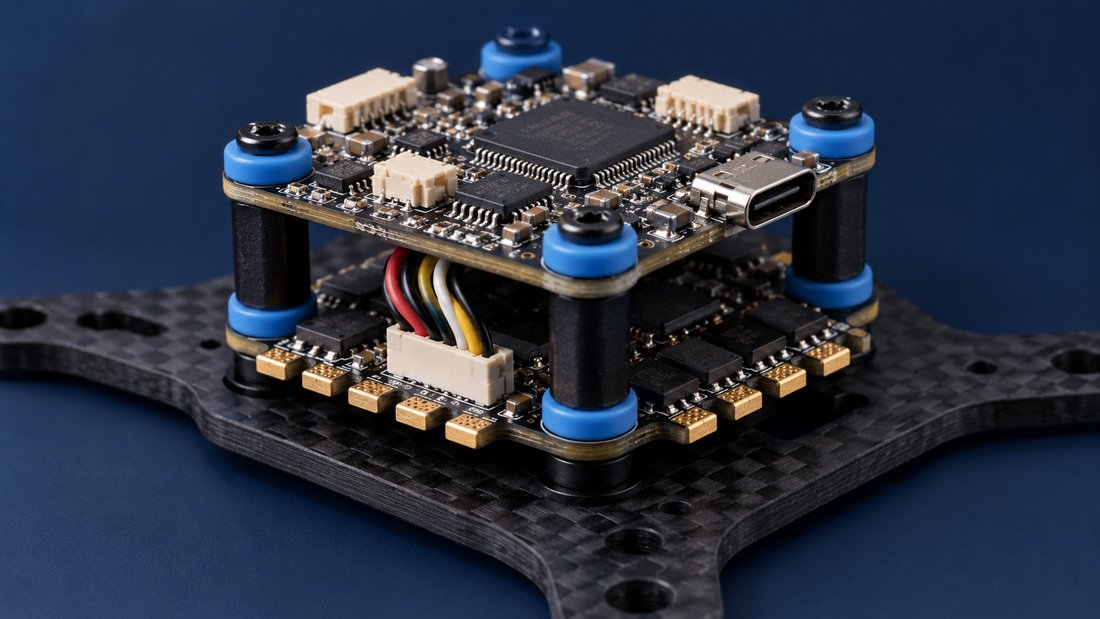
If you are specifying hardware for a class, club or drone soccer league, it helps to start from your aircraft class, battery and connector standard rather than from a single wire size. DPF’s Accessories (BKC), Flight controller (BKF) and ESC (BKE) lines are the relevant categories to review. Discuss your build requirements and confirm wire specifications, connector compatibility and assembly guidance in writing before ordering.
Frequently asked questions
Is thicker wire always better for FPV power leads?
No. Thicker wire lowers resistance and heat, but adds weight, stiffness and soldering difficulty, and may not fit the connector. The right gauge balances current, length, connector limits and build practicality.
Can I use the same wire gauge for every drone in a school fleet?
Not necessarily. A tiny indoor drone soccer quad and a larger outdoor build have different current and length requirements. A standard connector family is useful for spares, but wire gauge should follow each build’s needs.
How do I know my solder joint is good enough?
A good joint is shiny, smooth and fully wetted, with the wire mechanically secure before soldering. Practise on scrap boards, use adequate heat, and have a second person check polarity and joint quality before first power-up.
Does flight controller firmware affect power lead choice?
Firmware does not set wire gauge, but the system architecture does. Betaflight, for example, runs on the flight controller and sends commands to the ESC to drive the motors, so the power path must support the ESC and motor current. See the Betaflight documentation for background.
What should I ask a supplier before ordering power leads in bulk?
Ask for the wire specification and temperature rating, connector current rating and wire range, assembly and soldering guidance, sample availability and written confirmation of all commercial terms. Avoid relying on verbal assurances.
Can students assemble their own power leads safely?
With supervision, appropriate tools and a clear procedure, lead assembly is a valuable build-skills exercise. Set age-appropriate rules, require polarity checks and keep first power-ups under instructor control.
How do long power runs change the calculation?
Longer runs increase total resistance and voltage drop. Recalculate using the actual round-trip length, consider thicker wire or a higher system voltage, and check the result against insulation and connector ratings.
Conclusion: a repeatable wire-gauge process beats a rule of thumb
Choosing wire gauge for FPV power leads is a short engineering problem: estimate current, account for length, check voltage drop and thermal limits, then confirm the connector and soldering method. For schools and youth programs, a written, repeatable process is more valuable than a single recommended size, because it lets students reason about their own builds and lets buyers specify hardware confidently.
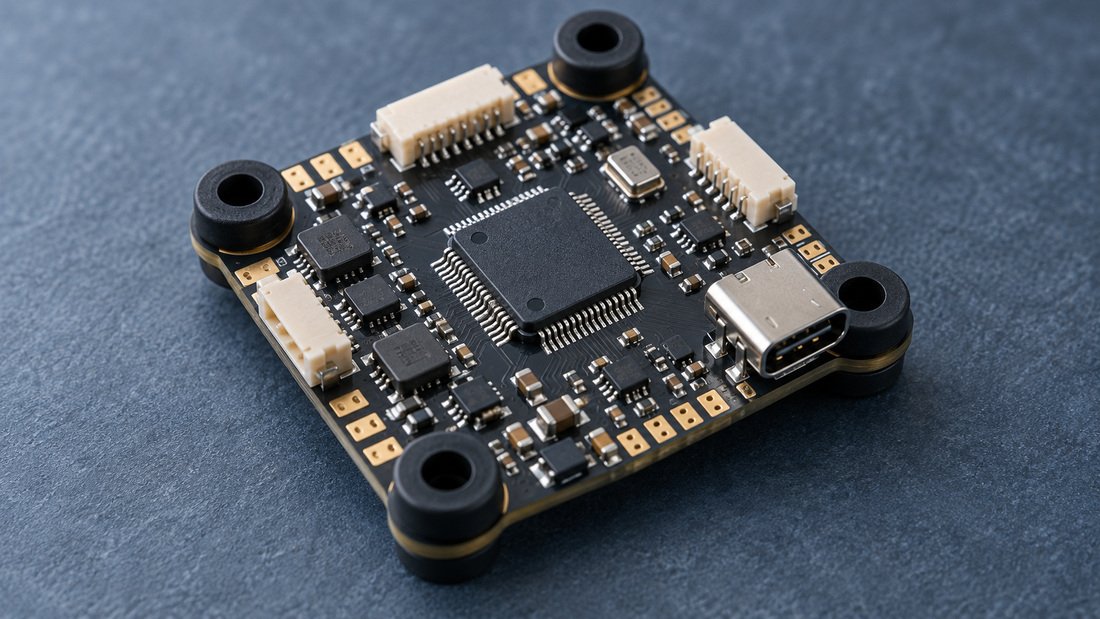
Next step: share your aircraft classes, battery voltages and connector standard with DPF and Request a School Program Quote so wire, connector and electronics choices can be confirmed together.