Quick summary
Replacing a motor on an FPV drone means removing the damaged brushless motor from the arm, desoldering or unplugging its three phase wires, fitting the replacement with the correct screw length, resoldering the wires in the right order, and then checking motor direction and propeller orientation before the next flight. For a club or school, the safest workflow is a supervised bench procedure with a motor map, a torque-conscious screw policy and a post-repair test with props removed.
Key Takeaways
- Replace one motor at a time and photograph the wiring before desoldering so the phase order can be restored.
- Screw length is a common cause of destroyed stators; match screws to arm thickness and check for contact before powering up.
- After any motor swap, confirm rotation direction in the flight controller with propellers removed.
- Keep a small, labelled spares box per team with motors, screws, heat-shrink and spare ESCs or 4-in-1 boards.
- Battery handling and shipping rules still apply to the packs used for testing; see the FAA lithium battery guidance before travel.
What tools and parts do you need before starting?
You need a replacement brushless motor of the same mounting pattern and KV class as the original, the correct screws, a soldering iron with a fine tip, solder, flux, heat-shrink, side cutters, a hex driver set, a multimeter, and a way to view motor output in the flight controller configurator. A small parts tray prevents screws from migrating into the frame.
For team settings, add a motor map sheet showing which motor is M1 to M4 and its rotation direction. This single document prevents most wiring mistakes when several students work on similar airframes. If your program is choosing motors in the first place, DPF’s overview of FPV motors explains the classes and mounting conventions that matter for spares planning.
Step-by-step: replacing one brushless motor
1. Isolate power and remove the propeller
Disconnect the battery and remove the propeller from the affected motor first. A propeller left on an arm is the most common cause of a cut during repair. Inspect the arm and ESC for heat damage before assuming the motor is the only failed part.
2. Document the wiring before desoldering
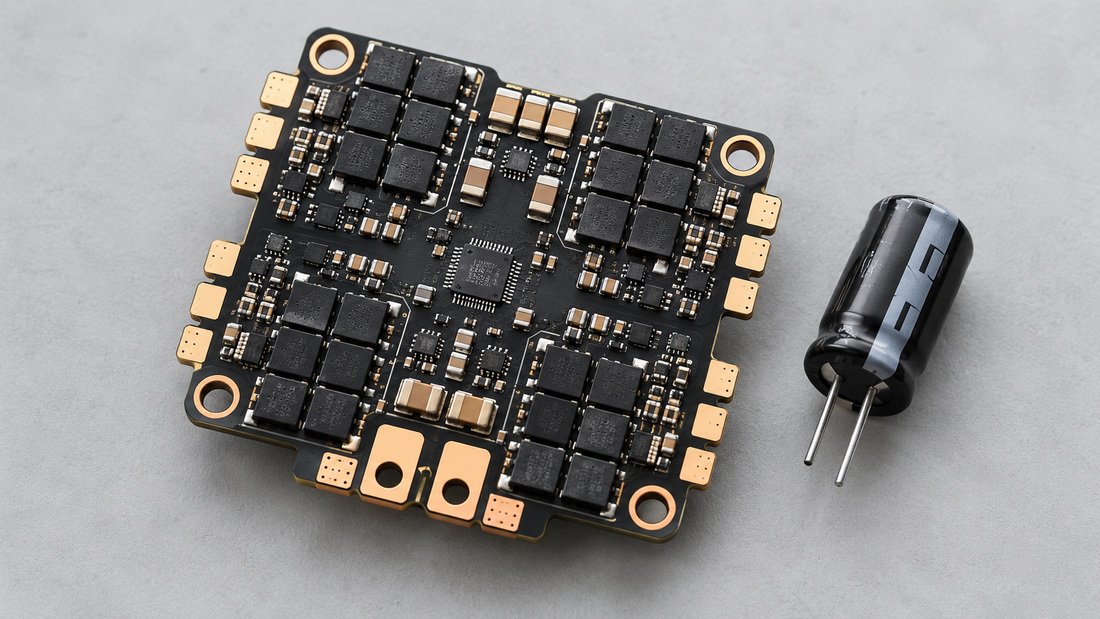
Photograph the three motor pads and note which colour or wire position maps to which pad. Brushless motors are three-phase, so swapping any two wires reverses rotation. That property is useful later but dangerous if the original order is unknown.
3. Remove the motor screws and old motor
Support the arm from below while loosening screws so the frame does not flex. Keep the old screws with the old motor; mixing screw sets between motors is how short screws strip threads and long screws short stators.
4. Solder the new motor in the recorded order
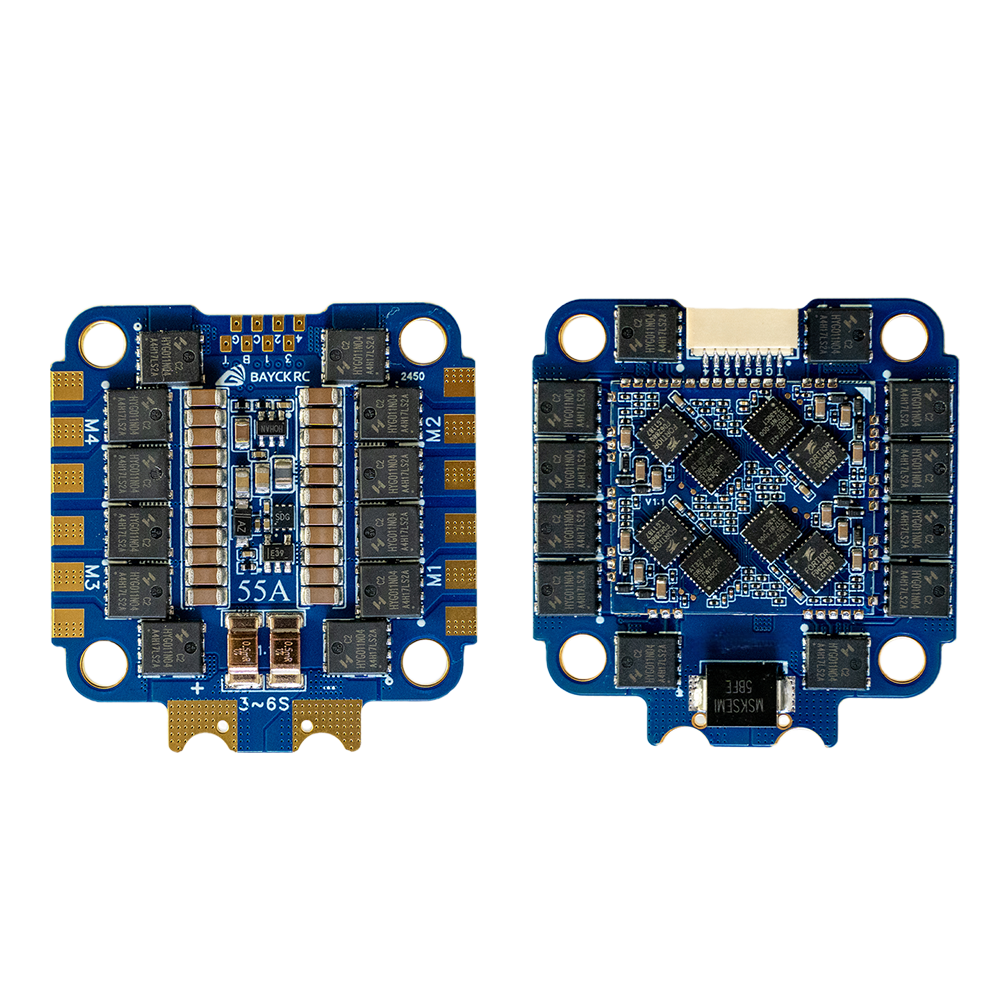
Tin the pads and motor wires, solder each joint quickly, and inspect for bridges. A solder bridge between phase pads can destroy the ESC on the first throttle blip. For teams doing many repairs, a shared soldering checklist reduces variability between helpers.
5. Check screws, direction and sensors before flight
Spin the motor by hand to feel for rubbing. Then, with propellers removed, run the motor in the configurator and confirm direction. If it runs backwards, swap any two phase wires rather than changing the motor.
Motor replacement comparison: repair options for a team
| Option | Best for | Trade-off |
|---|---|---|
| Replace one motor with an identical spare | Single failed motor, matched set still healthy | Requires accurate spare inventory and KV matching |
| Replace all four motors as a set | High-hour team trainers, unknown history | Higher cost, more bench time, fewer matched spare pairs |
| Replace motor and ESC together | Suspected ESC damage after a crash | More soldering and a larger parts budget |
| Swap the whole arm assembly | Field repairs at events | Carrying spare arms and frames |
The right choice depends on how many hours the set has flown and whether the motors were purchased as a matched set. Ask your supplier whether the motors you buy can be supplied in matched sets, and confirm that in writing if consistency matters to your program.
Common mistakes when replacing brushless motors
- Using long screws that contact the stator windings, causing an instant short.
- Forgetting to re-check motor direction after swapping phase wires.
- Reusing a propeller that was damaged in the same crash.
- Powering up with props fitted during a configuration check.
- Mixing KV ratings across a set and then chasing vibration or heat in the wrong place.
Each of these is preventable with a short pre-flight checklist after repair. Teams that log motor hours and crash events tend to catch failing bearings before they seize mid-match.
If your club is standardising airframes across several teams, it is worth reviewing propulsion combo kits so motors, ESCs and propellers arrive as a consistent set rather than as mixed batches.
Battery safety during and after motor repairs
Motor testing involves repeated power cycles, so treat the battery as part of the repair, not an accessory. The FAA notes that lithium batteries can overheat and undergo thermal runaway if damaged, overcharged or improperly packed, and that spare batteries must be carried in carry-on baggage with terminals protected from short circuit (FAA lithium battery guidance). Those rules apply to air travel and shipping, not to bench testing itself, but they are a useful reminder to protect terminals and retire damaged packs.
For school programs, a simple rule works: any pack that has been in a crash hard enough to damage a motor should be inspected, and any pack that is swelling, hot or smoking should be removed from the flight kit immediately.
Procurement checklist for team spare motors
Use this list when buying spares for a club or school fleet. It separates what you can specify yourself from what you must confirm with the supplier in writing.
- Motor size and mounting pattern matched to your airframe.
- KV class confirmed and kept consistent across spare sets.
- Screw lengths specified for your arm thickness.
- Connector or solder-pad type stated.
- Quantity per team, plus a percentage of spares for event weekends.
- Requested documentation: datasheets, wiring diagram, and any applicable conformity or transport documents.
- Commercial terms to confirm in writing: price validity, packaging, lead time, MOQ, warranty and return policy.
Do not assume warranty periods or lead times from a website; request them in writing and keep the confirmation with the purchase order. If you need help matching motors to a fleet, DPF’s motor and propulsion matching service is a conversation starting point, not a substitute for your own testing.
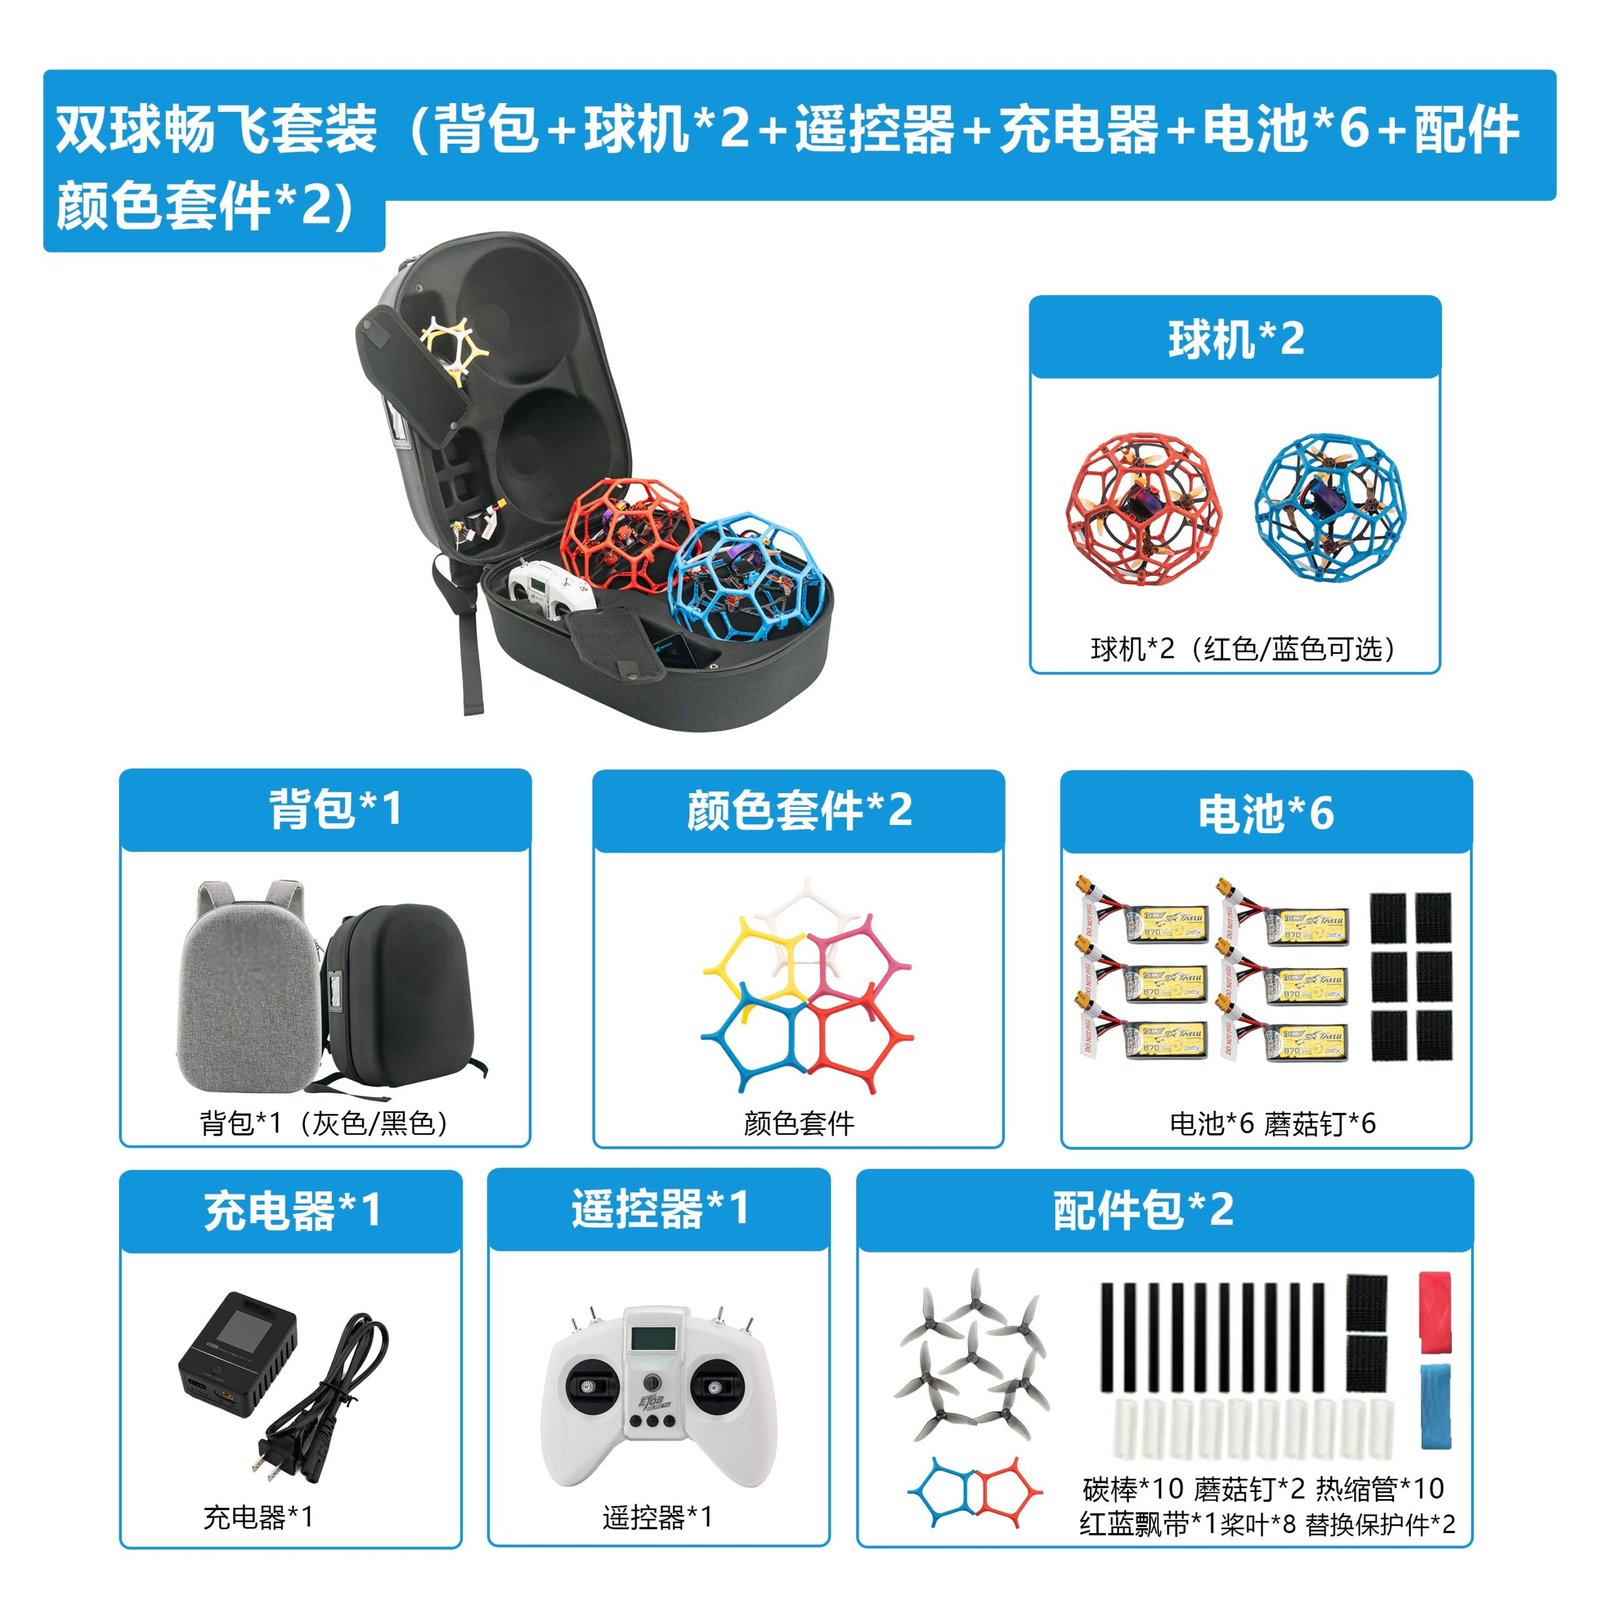
For programs running drone soccer alongside FPV practice, a consistent spares standard across brushless motors and ball-drone components reduces the number of unique parts a coach must carry to events.
Post-repair testing routine
Before the drone returns to a team session, run a short sequence: hand-spin each motor, check for loose screws, confirm direction with props off, then hover briefly in a safe area and check motor temperatures by touch after landing. Warm motors are normal; one motor noticeably hotter than its neighbours deserves investigation.
If you are matching a new motor to an existing propeller and battery, the motor, propeller and battery matching guide is a useful reference for the relationships to check.
Frequently asked questions
Can I replace just one brushless motor on an FPV drone?
Yes, if you have an identical spare and the other three motors are healthy. If the set has many hours or unknown history, replacing all four can be more consistent.
Do I need to resolder the motor, or can I use plugs?
It depends on the motor and ESC. Some motors and AIO boards use plugs; most race and soccer builds are soldered. Confirm the connector type before ordering spares.
How do I know the new motor is spinning the right way?
Check direction in the flight controller with propellers removed. If it is reversed, swap any two of the three phase wires.
Why did my motor fail right after replacement?
The most common causes are a screw contacting the windings, a solder bridge, or a damaged ESC from the original crash. Inspect all three before fitting another motor.
Can students do this repair themselves?
With supervision and a documented procedure, older students can handle motor swaps. Soldering and battery handling should follow your school’s safety policy.
Should I replace the propeller after a motor-damaging crash?
Yes. A propeller that took the same impact can have hidden cracks and should be retired with the motor.
How many spare motors should a team carry?
There is no universal number. Base it on fleet size, crash rate and event schedule, and confirm quantities and packaging with your supplier.
Conclusion and next step
Replacing a brushless motor is a repeatable bench skill: document the wiring, match the screws, solder carefully, and verify direction with props off. For clubs and schools, the bigger win is procurement discipline, keeping matched spares and a written checklist so repairs do not depend on one experienced helper. If you are equipping a team or a drone soccer program, Request a Team Kit Quote and confirm motor specifications, spare quantities and commercial terms in writing before ordering.